Your Guide to the


Perfect At-Home Pedicure
Step 1: Soak
tart with clean, polish-free nails. Fill a basin (or your bathtub) with warm water and add your soap of choice: dish soap, hand soap, body wash, etc. Dip your feet into the water and let them soak for 2 to 5 minutes. While you relax, peruse Facebook, or flip through a magazine, the soapy water will be naturally softening your calluses. Look at you, multitasking.
Step 2: File
Remove your feet from the soak and, while they’re still slightly wet, scrub both feet with a foot file, focusing on the rougher areas. Our foot file has two grains: coarse and fine. Cassidy recommends starting with the coarser grain to file calluses, then moving to the fine grain side to smooth. But either side will get the job done; it just depends on your personal preference.
Step 3: Scrub
Put some relaxation into your exfoliation with Instant Warming Foot Scrub. The cucumber mint scent and warming sensation will send you into a full-on pampering head space, while the natural pumice particles will do away with any last remnants of winter’s dry, rough skin. When you’re sufficiently soothed, dip your feet back into the basin to rinse, or wipe off the scrub with a damp towel. Then, wash your hands. (Our scrub contains chili pepper oil, so that last part is important.)
Step 4: Shape
Now it’s time to get out your Well-Manicured Kit and clip and shape your nails. Clip each nail straight across, and then use an emery board underneath the edge to gently shape and smooth each nail. It’s important to do this step before the next one (cuticle softener) to avoid damaging your nails.
Step 5: Cuticles Apply a drop of Vanish Cuticle Softener & Remover to the base of each nail. We love Vanish because it’s not only gentle, but amazingly effective at softening cuticles. Let your toes sit for one or two minutes, so Vanish can really soak in and do its thing. Then, it’s time for your cuticle pusher. The Julep cuticle pusher is two-sided, so you can use it comfortably in either hand. Direct the end of the cuticle pusher so that the curve arches in the same way as your nail plate. Lay the curved end of the cuticle pusher on your nail plate at about a 45-degree angle, and gently push back your cuticles.
Using the cuticle nipper is entirely optional. With your cuticles pushed back, you’re ready to move on to the next step. If you do choose to nip, follow the advice of our parlor director Amy and “only nip what’s white and wavy.” In other words, only use your nippers on dead skin and hang nails, never live skin or any parts of the cuticle that are still protecting your nail bed.
Dip your feet back into the basin to rinse off any remaining Vanish, and then dry thoroughly.
Step 6: Polish
Put toe separators on both feet, and sit in a position that’s comfortable and allows you to easily reach your feet.
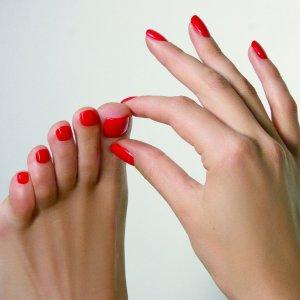
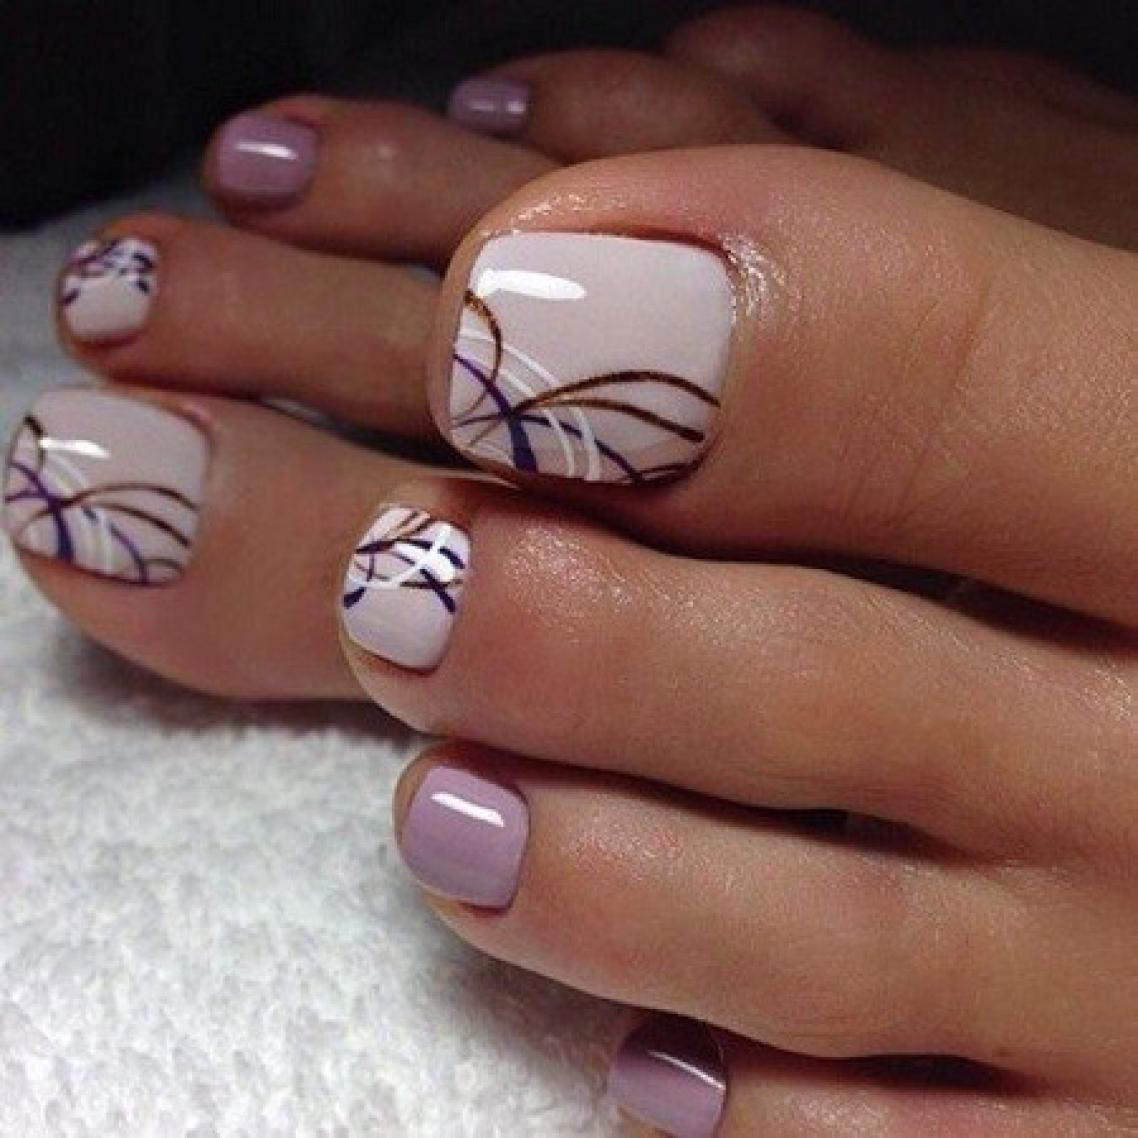
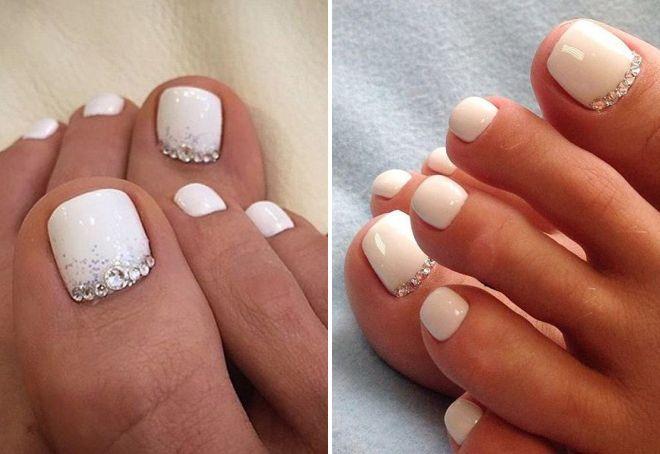
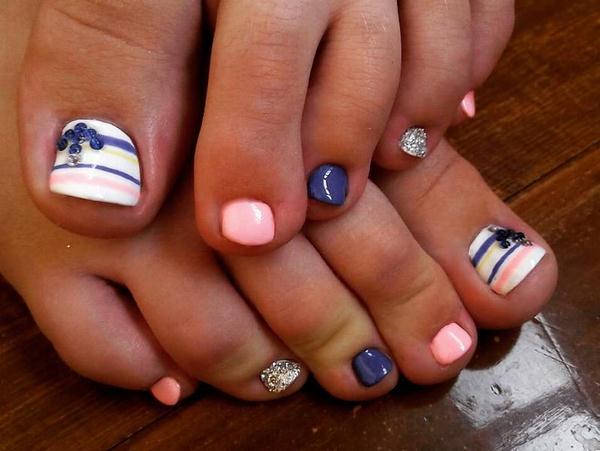
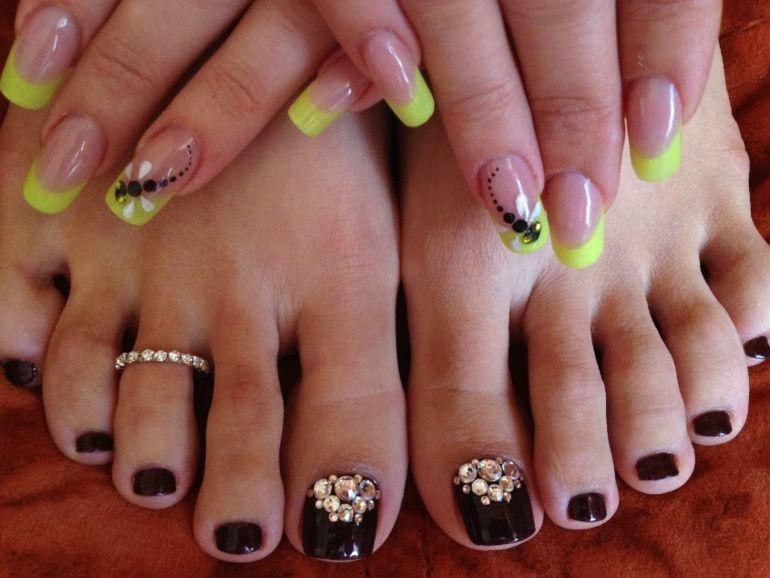
Apply a base coat, and allow to dry. Then it’s time to polish! Apply one or two coats of color and then finish with your favorite top coat. For a smooth, even, long-lasting pedicure, Cassidy recommends using thin layers of polish and allowing each coat to dry before applying the next.
Step 7: Mint Condition
When your polish has completely dried, finish off this treat to your feet with some fresh, moisturizing.
And, you’re done! Now the only thing left to do is to bring your favorite sandals out of the closet and into the sunlight—because toes this beautiful need to be shown off.